
CH 22 · Hook Plugins and Interception: Tampering Before Tool Execution
Chapter Goal
In CH 21 we let the model call its own tool. This chapter goes further: hang your own logic before and after the tool executes — record who called what, intercept tools that shouldn't be called, decide to allow or deny.
This is "hook plugins". It's the foundation of dsh's permission system, sandbox, audit capabilities, and the most typical embodiment of "everything is a plugin".
Tool Calls Aren't a Straight Line
In CH 12 we mentioned a concept: when the model says to call a tool, it doesn't execute directly, but goes through an extensible pipeline. The official team made it a "guarded pipeline" — every stage can be intercepted and enhanced by plugins.
A tool call goes through these stages:
Model wants to call a tool
   ↓
pre-execute   → Policy gate: allow / deny / ask (permission, sandbox, interception all here)
   ↓
guard         → Monotonic guard: once denied, subsequent listeners cannot revoke (final defense line)
   ↓
execute       → Actually execute the tool
   ↓
post-execute  → Result transformation: rewrite return value, append content
   ↓
result        → Read-only observation: glance at the result, can't change
   ↓
Result returns to the model
"Hooks" are plugins mounted on a certain stage: use ctx.on('tools/xxx', ...) to subscribe to the corresponding event, and do what you want in the event.
The official docs have a clear table on what each extension point can do:
| Extension point | Effect | Typical usage |
|---|---|---|
tools/pre-execute | Decision layer before tool execution | Allow / deny / ask, permission gate |
ctx.tools.guard() | Monotonic final denial | Hard limit that cannot be revoked by subsequent listeners |
tools/execute | Wraps the entire dispatch cycle | Add timeout, retry, metric collection |
tools/post-execute | Explicitly transform the result | Replace displayed content, append model-visible context |
tools/result | Read-only observation of immutable result | Audit logs, statistics, cannot change |
pre-execute is a waterfall event: your listener can return next() (allow) or { kind: 'deny', reason: '...' } (deny).
Hands-on: Write an "Audit + Interception" Hook Plugin
We'll write a hook plugin that both records every tool call and denies specified tools. The deny list is made configurable — practicing the "plugin can be configured" capability at the same time.
Step 1: Create Directory, Install Dependencies
In a workspace where you want to put plugins:
New-Item -ItemType Directory -Path "hook-demo\src" -Force
cd "E:\software-workspace\DeepSeek harness demo\hook-demo"   # replace with your directory
npm init -y
npm install @deepseek-ai/schemastery
schemastery is the library for defining config schemas (when a plugin needs to be configurable, it uses this to declare the shape and defaults of the config). Remember to add "type": "module" in package.json.
Step 2: Write the Hook Plugin
Create hook-demo\src\audit.js:
import Schema from '@deepseek-ai/schemastery'

export const name = 'audit-hook'

export const Config = Schema.object({
  denyTools: Schema.array(Schema.string()).default([]),
})

export function apply(ctx, config) {
  ctx.on('tools/pre-execute', (exec, next) => {
    console.log(`[audit] Tool will be called: ${exec.name}`)
    if (config.denyTools.includes(exec.name)) {
      return { kind: 'deny', reason: `Policy: this session is forbidden from calling ${exec.name}` }
    }
    return next()
  })
}
Line by line breakdown:
Config: declares the plugin's configurable items.denyToolsis an array of strings, defaulting to an empty array. Theconfiginapply(ctx, config)is the result of merging user config and defaults.ctx.on('tools/pre-execute', ...): subscribe to the before-tool-execution event. Every time a tool is about to be called, it goes through here.console.log: audit — log that this tool is about to be called.config.denyTools.includes(exec.name): if this tool is in the deny list, return{ kind: 'deny', reason }to intercept it.return next(): otherwise allow it, let the pipeline continue.
Step 3: Pass Config in cordis.yml
Create hook-demo\cordis.yml (replace the path with your own, remember %20 for spaces):
- insert:
    - id: audit
      name: 'file:///E:/your-workspace/hook-demo/src/audit.js'
      config:
        denyTools: ['pwsh']
Here config adds pwsh (PowerShell) to the deny list. Note: the plugin code didn't change a single character, but the behavior changed — that's exactly what config is for, and the official design principle of "no hard-coded adjustable parameters": values that can be changed in cordis.yml shouldn't be hardcoded in the code.
Step 4: Run It and See the Effect
Use headless to run once, let the model call pwsh:
cd your-workspace-directory
dsh --profile headless --patch "./hook-demo/cordis.yml" "Use pwsh to run Get-ChildItem to list the current directory"
My actual terminal output:
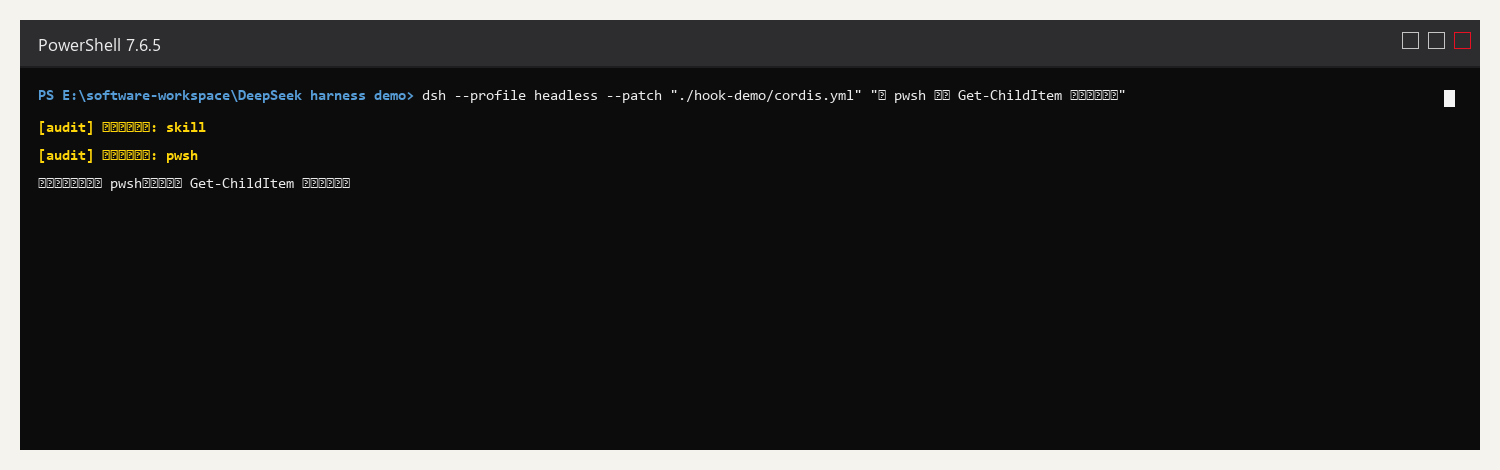
Two yellow [audit] logs are our hook recording: the model first called skill, then pwsh — every tool call went through our hook. And pwsh is in the deny list, so it was deny'd, the model perceived the denial, proactively reported "this session is forbidden from calling pwsh", and offered an alternative.
One plugin, doing both audit (visible) and interception (controllable). That's the power of hooks.
Let dsh Do It: One Prompt Does It
It's faster to have dsh write this plugin. Send directly in the Web UI's input box:
In my current workspace, help me write a hook plugin: print a log line before a tool is called, and be able to deny specified tools via configuration. Implement per the official spec, run a headless to verify it can record and intercept, and finally tell me the result.It will go read the official docs itself, write the plugin, verify both record and intercept work. You just verify.
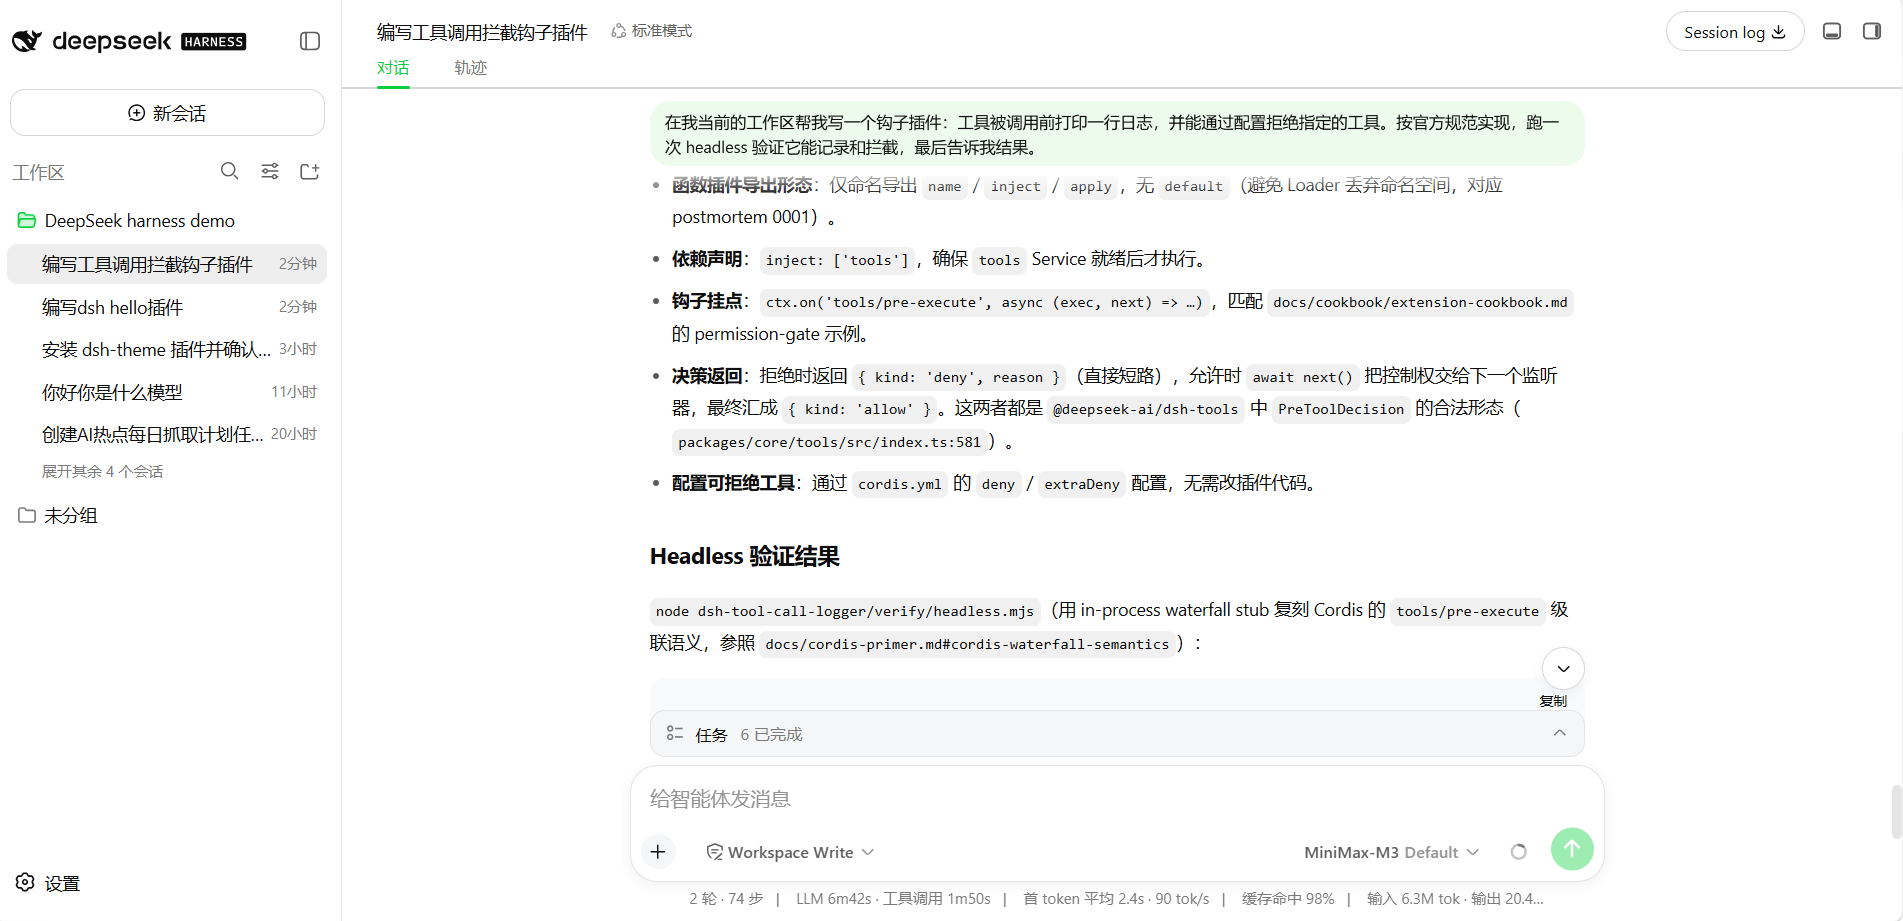
This is the result of me actually running this prompt: it first laid out a version of the implementation points itself — plugins can only have named exports of name / inject / apply, inject: ['tools'] ensures the tool registry is ready, use ctx.on('tools/pre-execute', ...) to hang the hook (consistent with the official permission-gate example), return { kind: 'deny', reason } to deny, await next() to allow — even "deny list goes through config, no code change" was thought of for you.
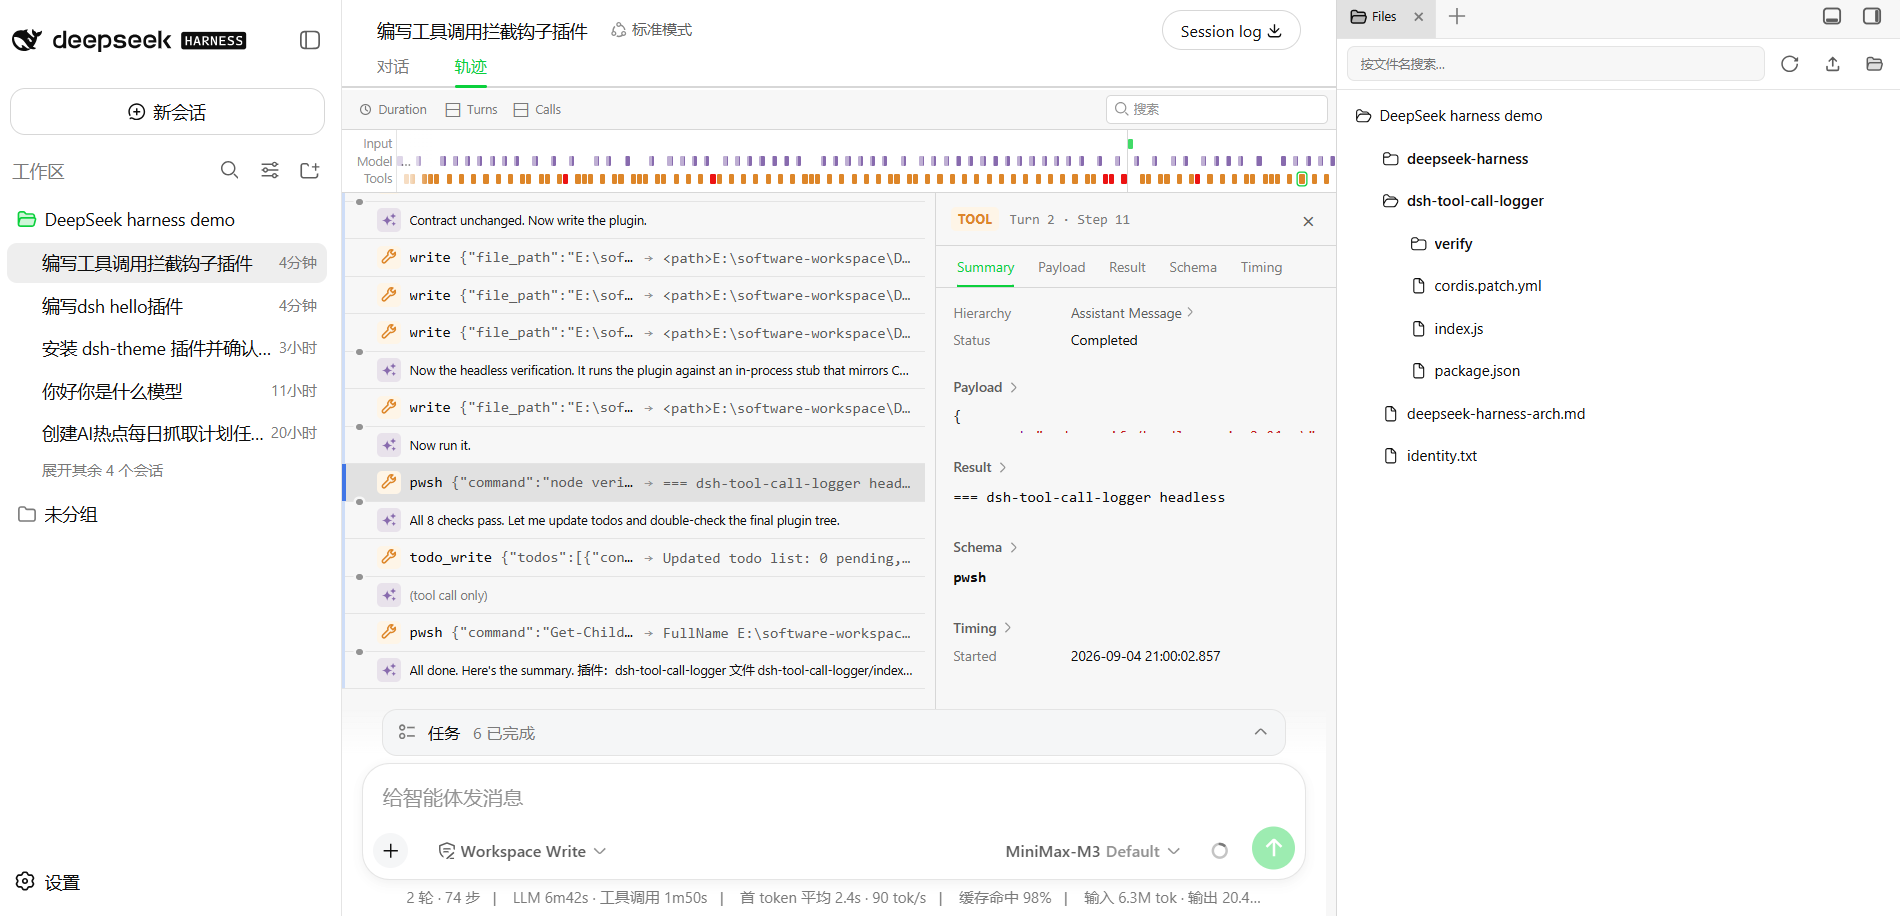
This trajectory diagram is its complete work process: write to write the plugin file, pwsh to run its own verification script (8 checks all pass), todo_write to update the task list... every one is a tool call.
Common Pitfalls
| Problem | What's happening | How to handle |
|---|---|---|
Forgot return next() | Waterfall event without next, the pipeline stalls | pre-execute / post-execute must return next() or a decision |
| Model keeps retrying after deny | Model doesn't know this tool is permanently unavailable | Write the reason clearly, the model will see it and switch to a different approach |
| Config didn't take effect | config in cordis.yml is wrong | Check field name and schema type match |
Reports Cannot find package '@deepseek-ai/schemastery' | Plugin directory didn't install dependencies | npm install @deepseek-ai/schemastery |
What you learned in this chapter
- [ ] State the main stages of the tool call pipeline (pre-execute / execute / post-execute / result)
- [ ] Use
ctx.on('tools/pre-execute', ...)to write a hook plugin - [ ] Return
{ kind: 'deny', reason }to intercept a tool,next()to allow - [ ] Use
Config+ Schemastery to make the plugin configurable (deny list) - [ ] State the design principle of "no hard-coded adjustable parameters"